How do I apply Luxy Hair Scalp Fill-Ins?
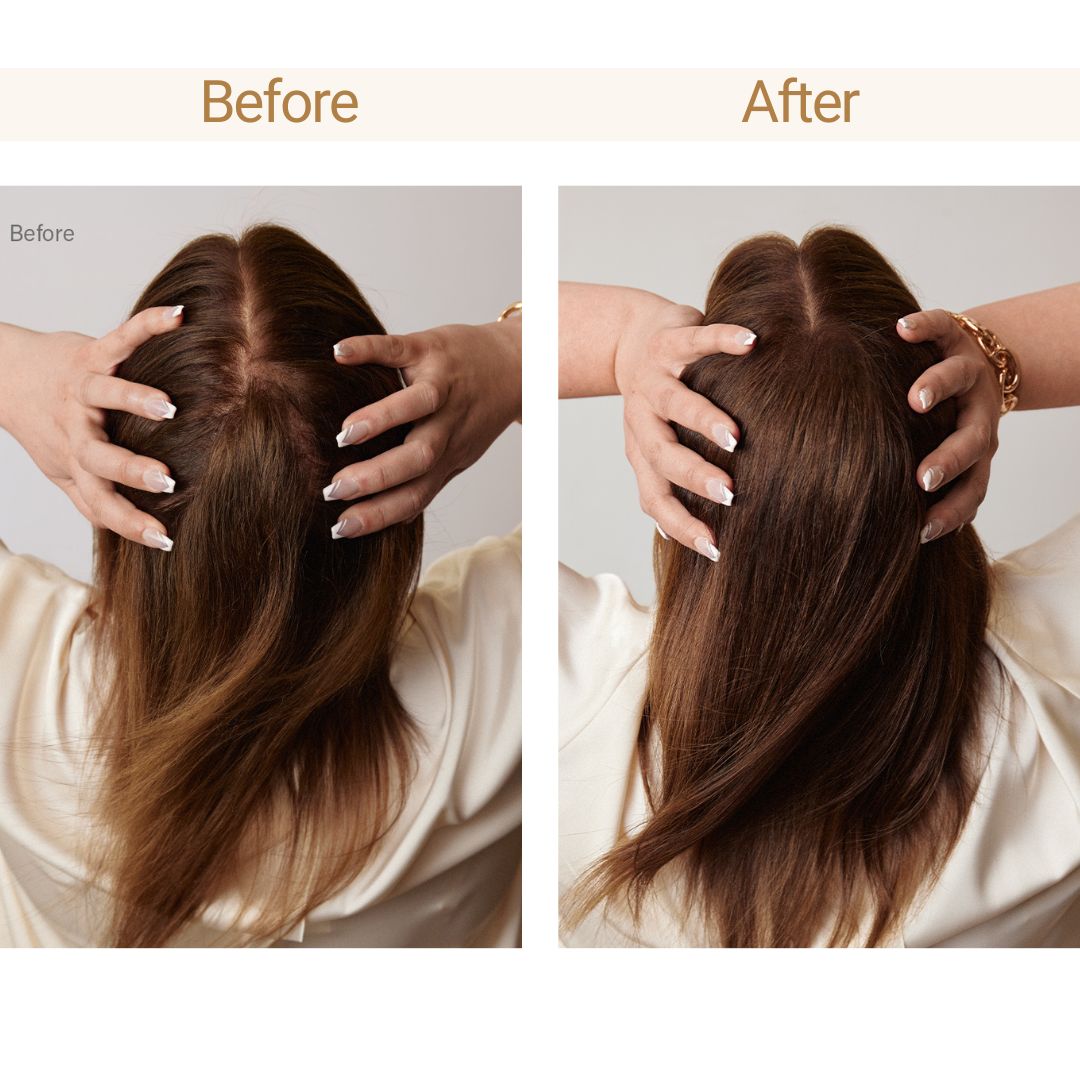
Scalp Fill-Ins are designed to add density to thinning hair at the scalp, especially at the part line. Each set comes with (4) 2-clip wefts that are 2.5" wide. The hair is hand-knotted to a mesh base for ultimate blendability at the scalp.
Application Instructions

- Choose where you would like to apply the Scalp Fill-In for added coverage and density. Generally speaking, this will be about 0.25-1.5 inches from your part line.
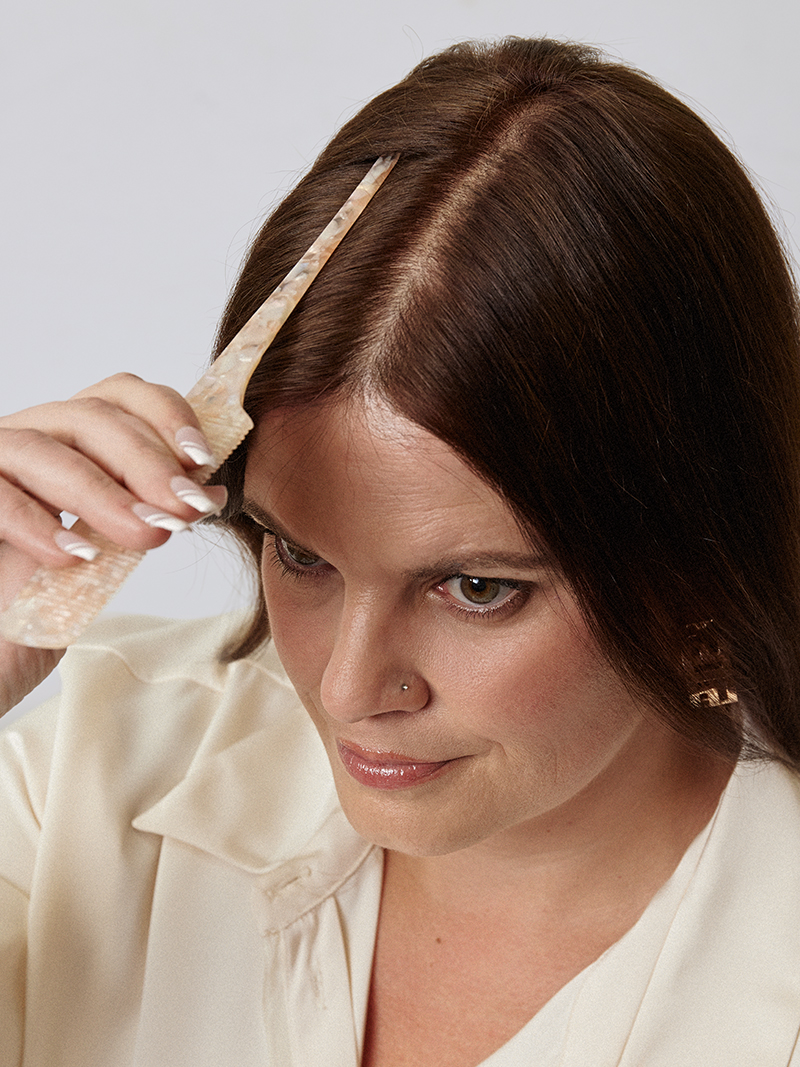
- Section and clip this hair out of the way. The section should be 0.25 inches or wider, depending on the density of your hair.
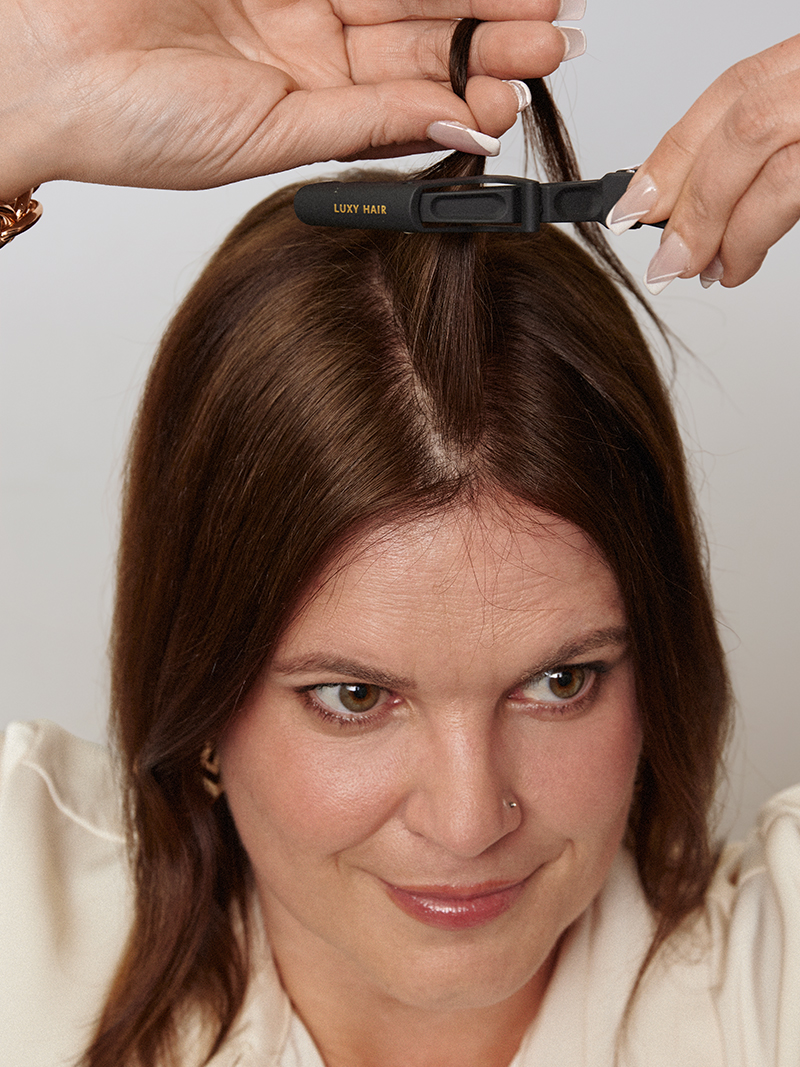
- Pop the clips on one of your wefts open and place it along or slightly below the section you created, sliding the little combs into your hair. Press on each clip to pop it shut.
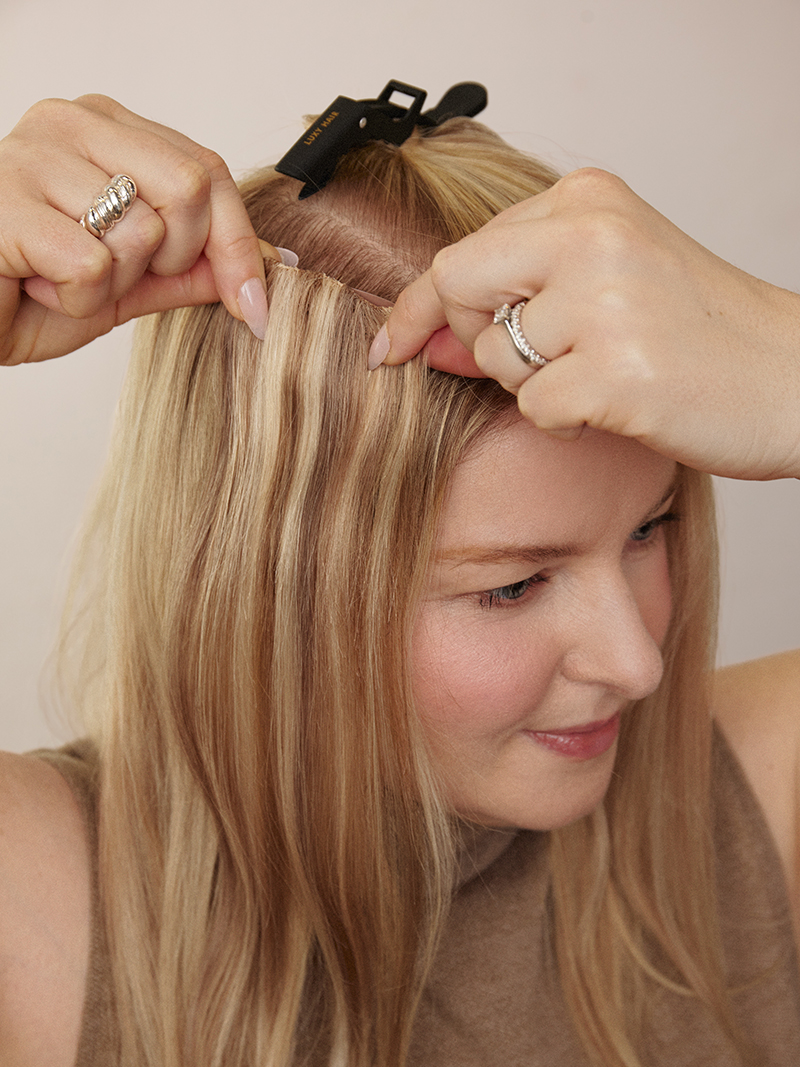
- Unclip the hair you sectioned away and let it fall over the extension to cover the top of the weft. Gently brush the hair to blend the ends.
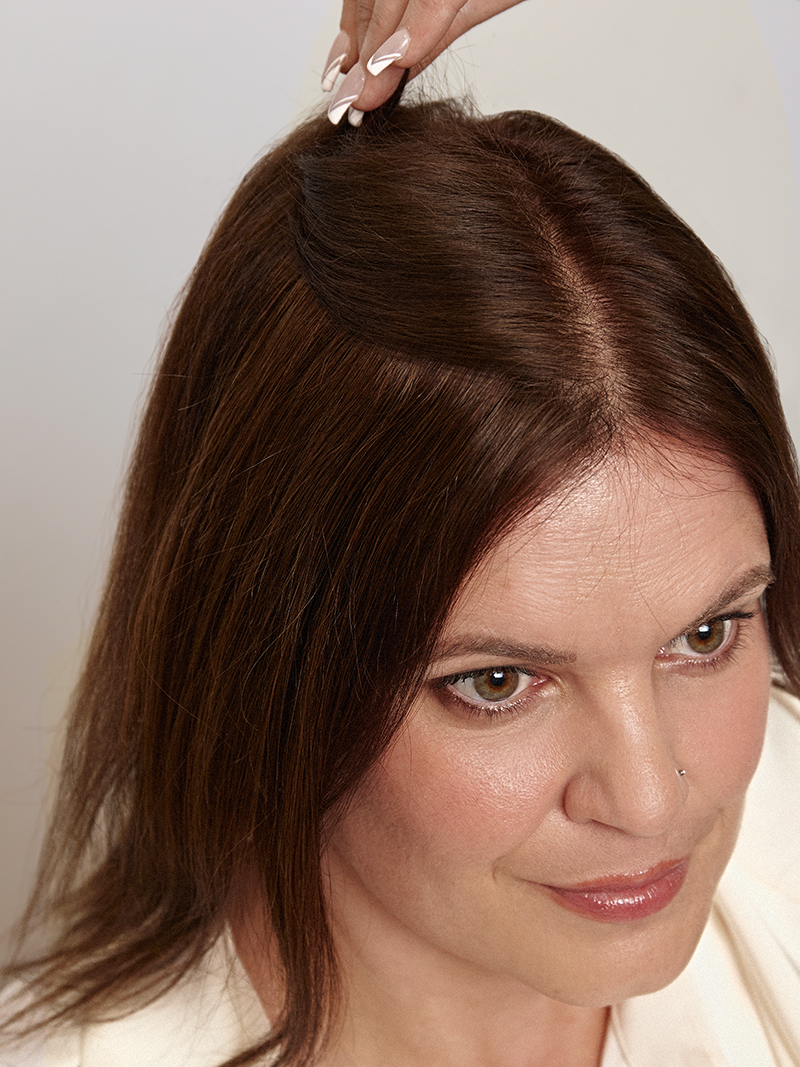
Crown Application
In some cases, Scalp Fill-Ins can also be used to add density at the crown of the head. Your ability to wear the wefts this way will depend on the density and growth pattern of your hair.
Crown Application Instructions
- Set aside two Scalp Fill-In wefts for use at the crown.
- Instead of sectioning your hair along your part line, section your in a shallow "V" shape at the crown, 0.5 inch or so above where you want to add density. The size of this section will vary depending on your hair density and growth pattern, but will likely be about an inch thick.
- Clip this section out of the way.
- Pop the clips open on your wefts and place them one at a time in a "V" shape, along but slightly below the shape of the hair you sectioned away. Ensure you pop each clip shut once it is in place so it stays.
- Let the sectioned hair down, brushing it gently to blend the ends.
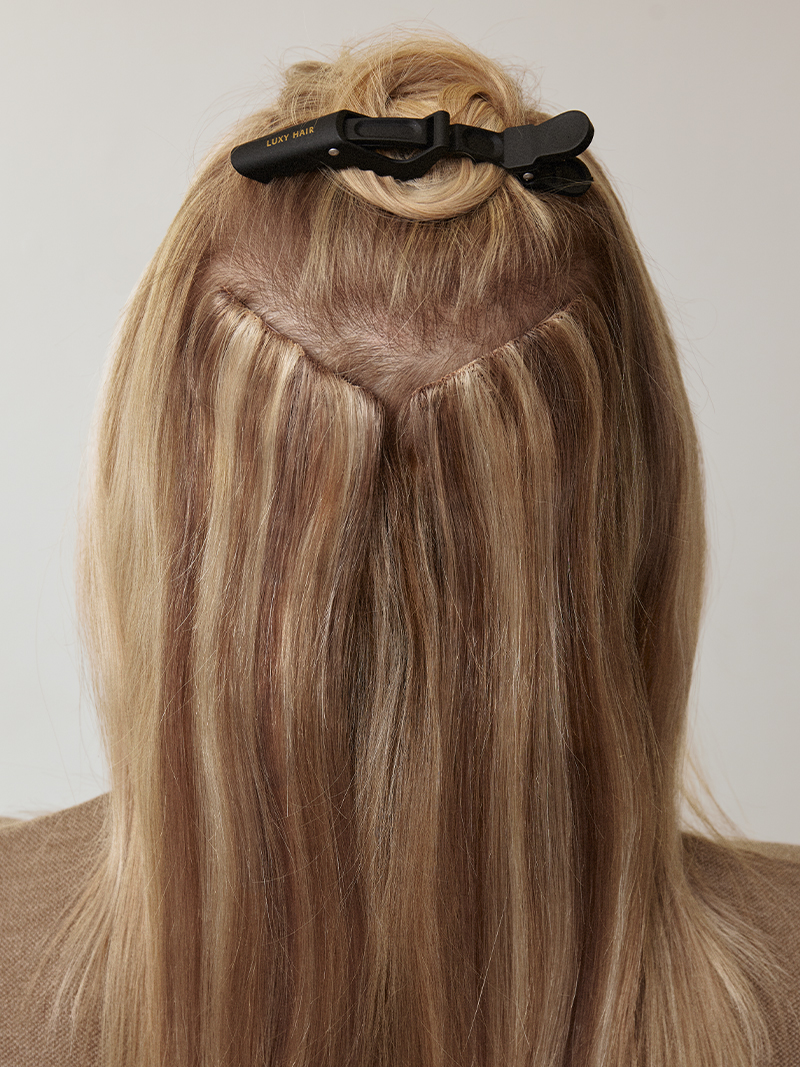
Applying Scalp Fill-Ins is a totally personal process, and will vary based on hair type and growth pattern! Use the weft placement that is best for your hair, and feel free to raise or lower the extensions as you see fit.
